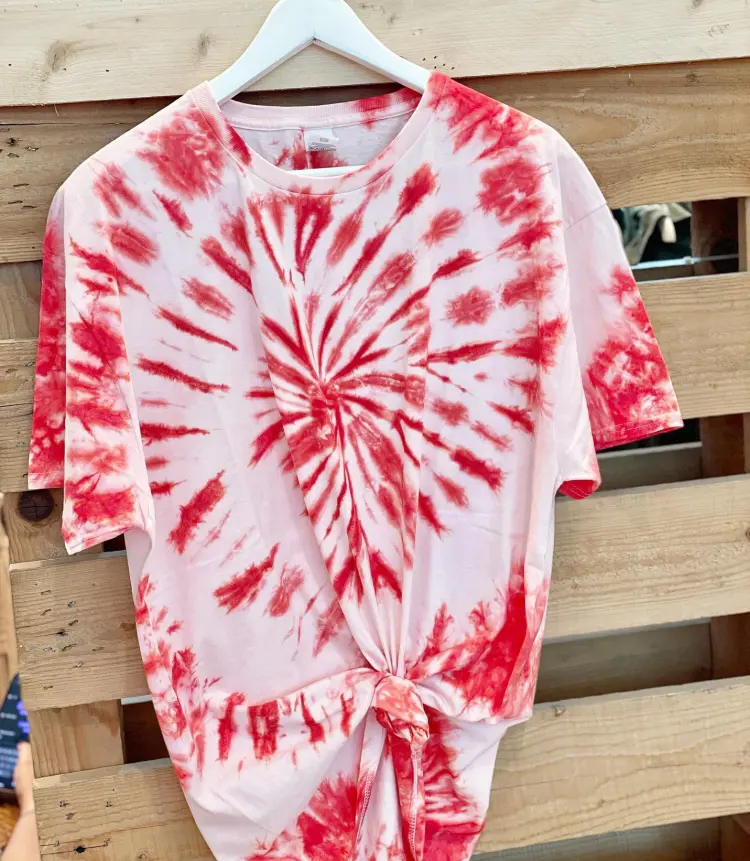
Tie Dyeing is like a cool craft project that'll give your old clothes a fresh makeover with some groovy patterns. It turns your plain old white tee into something fabulous.
In this blog post, we're spilling all the details on how to whip up some amazing tie-dye designs that are trendy and eye-catchy.
1. Prepare Supplies
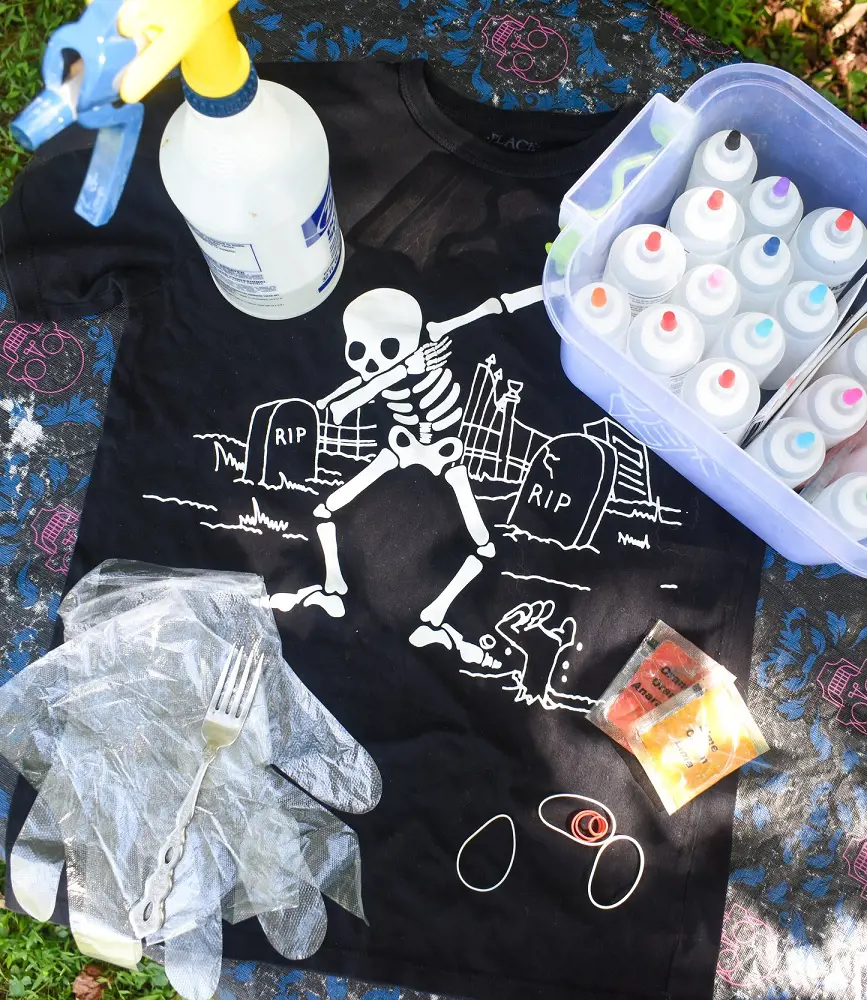
To get started with tie-dye, first pick out a kit or some fabric dyes in your favorite colors. You'll also need items like rubber bands, string, or zip ties to create different patterns by binding the fabric.
To prevent any mess, cover your workspace with plastic or an old cloth. Wear gloves to avoid staining your hands and protect your table with plastic or old newspapers.
For applying the dye, use plastic squeeze bottles or spray bottles to have better control over the design.
2. Prep The Shirt
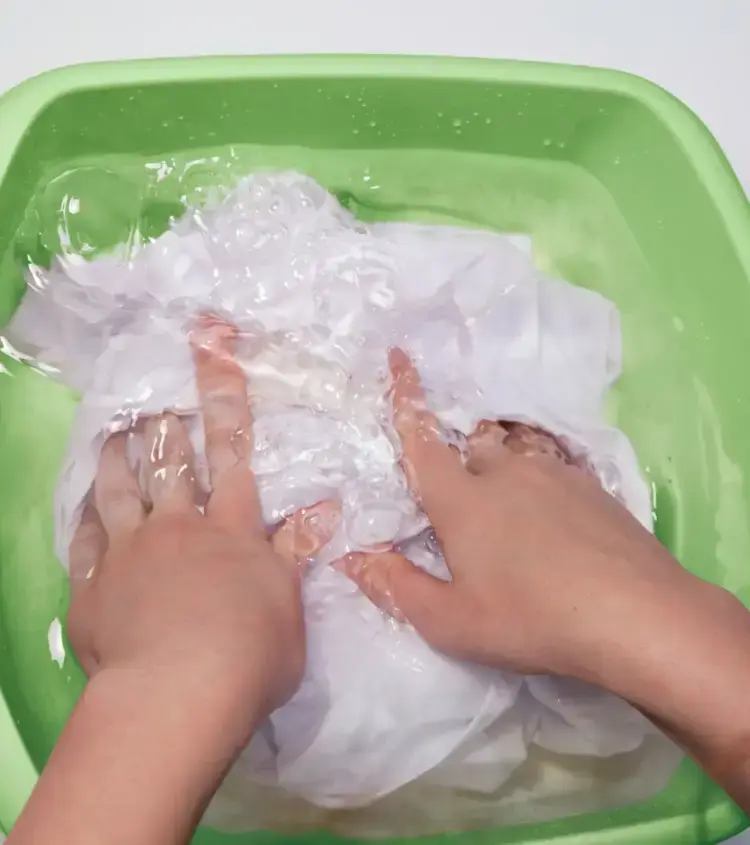
The color of the dye on the shirt depends on how well the fabric absorbs it. So, for better absorption, make sure to remove dirt or any chemicals by washing the shirt with mild detergent.
Avoid the fabric softener since it can block the dye. Then, dampen the shirt by either spraying it with water or giving it a quick soak. Be sure to squeeze out any extra water so the dye spreads evenly.
3. Select A Design
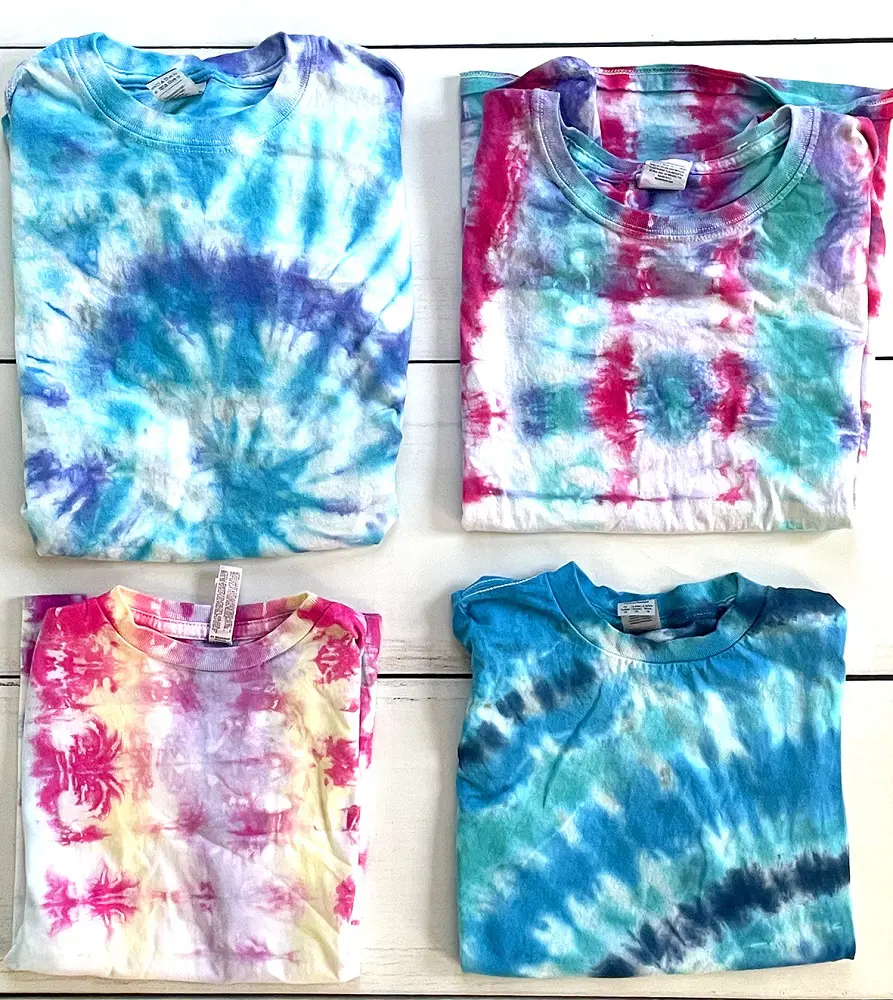
What you dye is totally up to you. From the simplest spiral pattern to the most difficult Mandala pattern, it's your choice. You can choose designs from social media like instagram, pinterest.
To meet the exact same design, choosing of exact colors, patterns, the technique has to be carefully inspected beforehand.
4. Fold And Bind
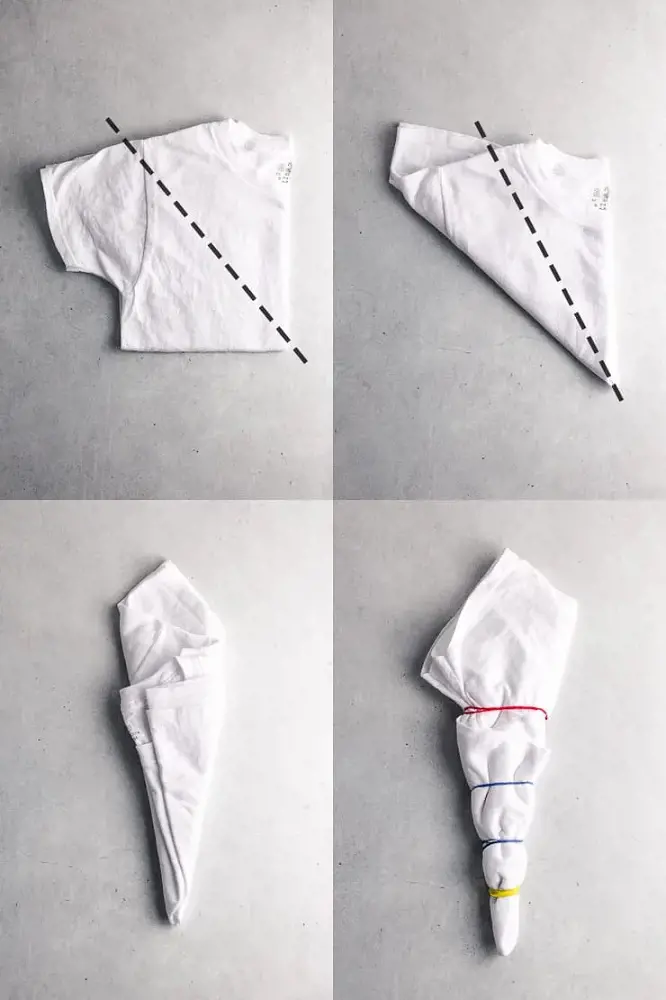
The easiest way to fold and tie the fabric is by using rubber bands or zip ties. Keep in mind to fold it tightly for sharper patterns and less dye bleed.
Also, make sure the folds are even to ensure a uniform design. For best results, experiment with different folding techniques to create unique patterns.
5. Mix Dye Solutions
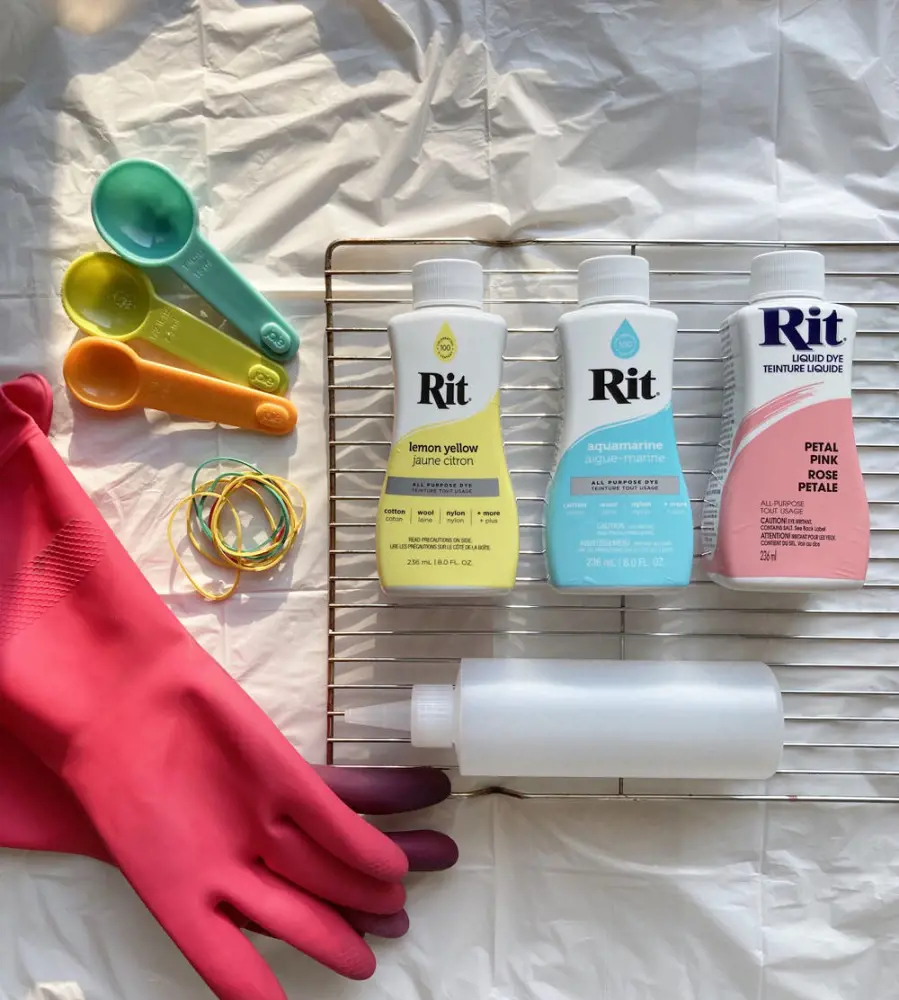
Fill your squeeze bottles or applicators halfway with warm water. Mix the powdered dye following the package instructions, then shake to combine the solution.
To get the desired pattern, squeeze the bottle with controlled pressure. As the more forcefully you squeeze, the more dye will come out. Adjust the pressure based on how intense you want the color to be.
6. Apply The Initial Color
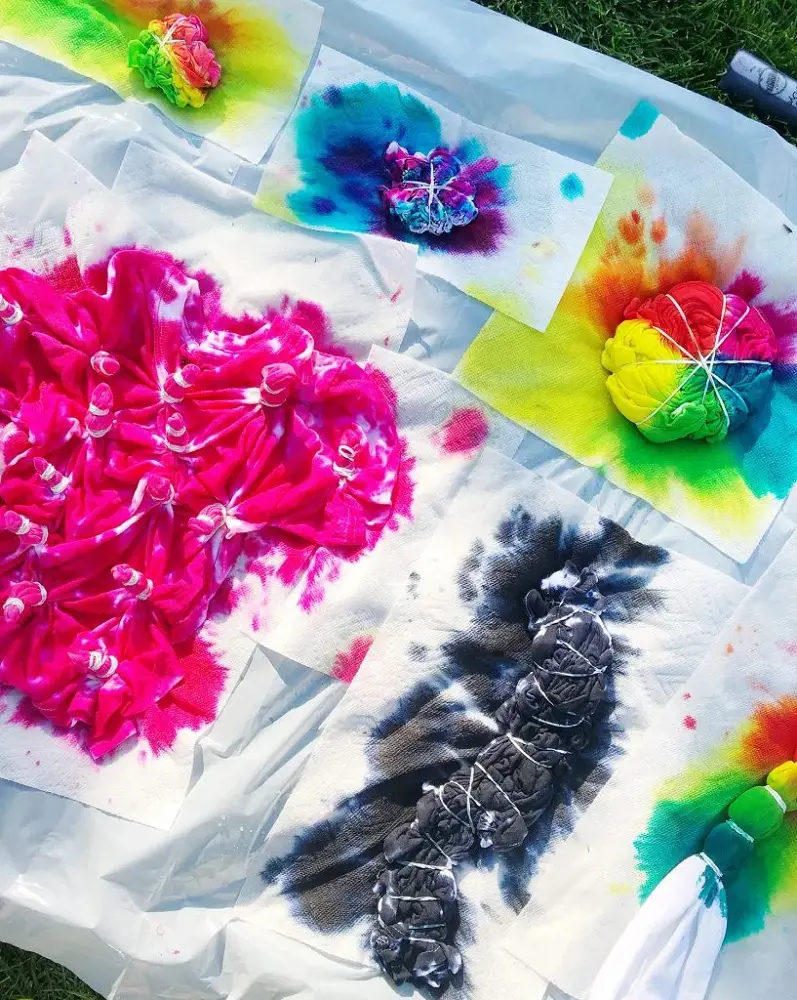
After gathering everything needed to start the tie-dye process, it is time to apply the first color. Be very careful while choosing the areas where you want the initial dye to set.
For even distribution of dye over those sections, use the ready squeeze bottle. Then, gently massage the dye into the fabric to help it absorb.
Let the color set for the recommended time before moving on to additional colors.
7. Add Extra Color
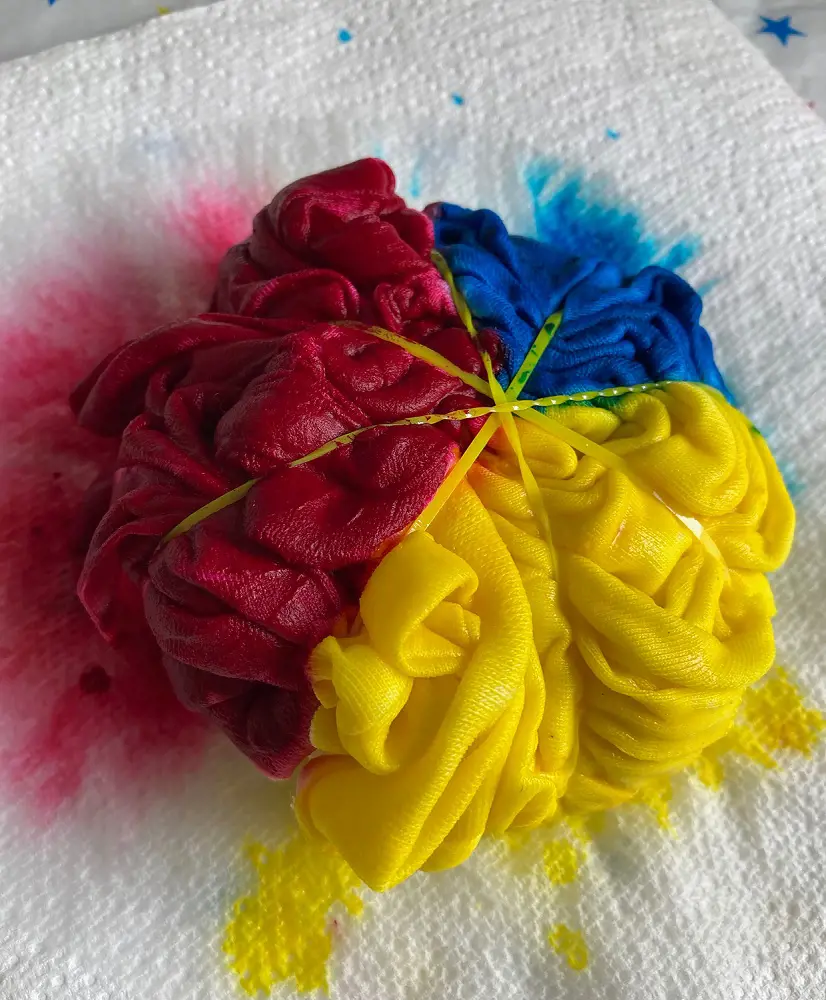
Once the first color has set, apply additional colors to your tie-dye project.
Use separate squeeze bottles or applicators to add each new color to different sections of the fabric or over existing dye.
Blend the colors carefully to achieve your desired pattern, making sure to work the dye in evenly.
8. Flip and Repeat
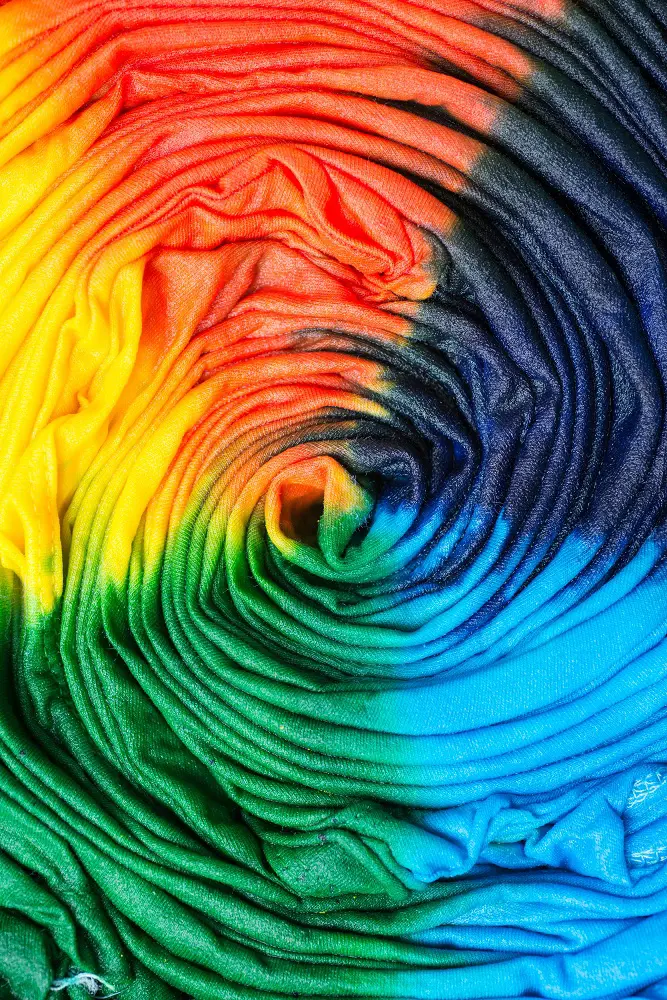
Carefully turn the fabric over to ensure that all sides receive an even application of dye. After flipping the fabric, apply additional dye to any areas that may need more color or touch up existing sections.
This step helps create a consistent and well-blended pattern throughout the entire fabric. Be sure to check for any missed areas or uneven spots and adjust as needed.
9. Wrap In Plastic
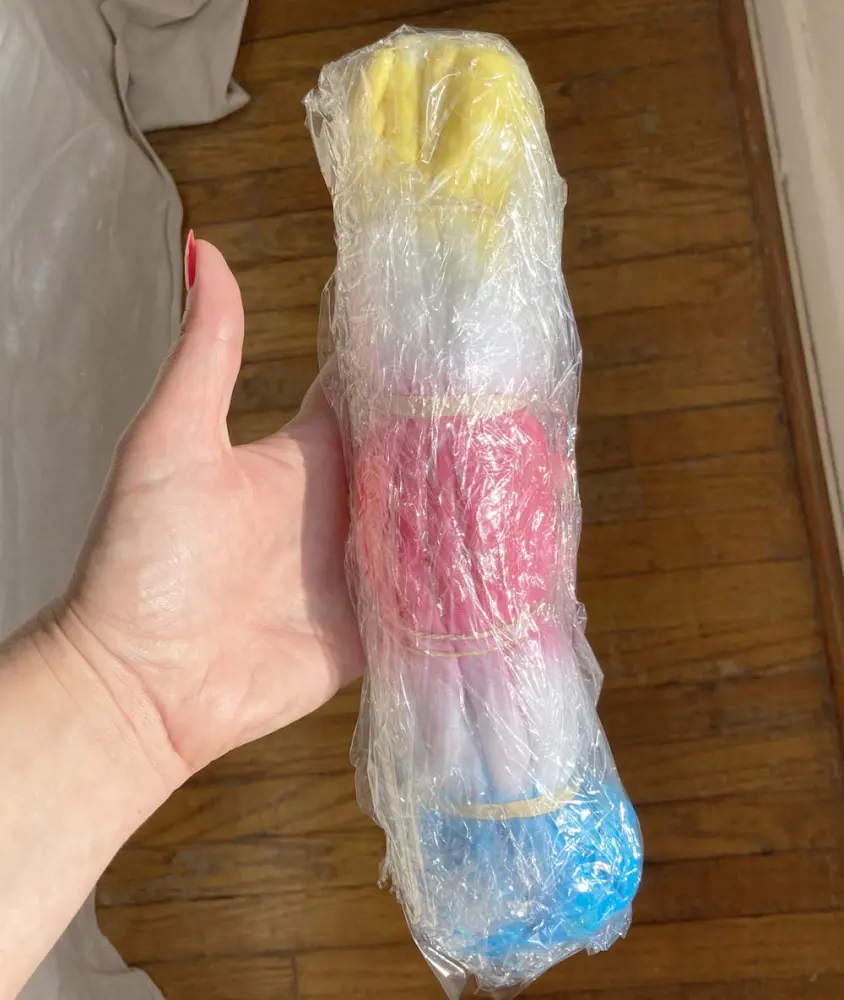
In this step, wrap the dyed fabric tightly with plastic wrap or a plastic bag. This keeps the dye from drying out too quickly and helps the colors set properly.
The plastic also prevents color bleeding and ensures even saturation. Allow the fabric to remain wrapped for the recommended time to achieve vibrant and well-set colors.
10. Allow The Dye To Set
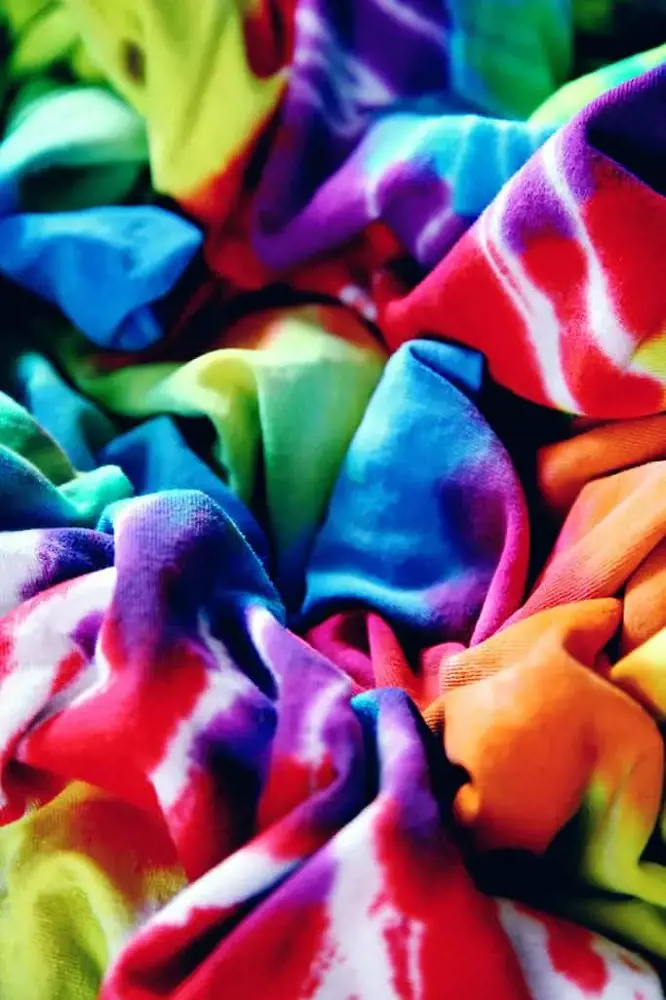
After wrapping the fabric in plastic, the next step is to let the dye set. You can leave it in plastic for several hours or overnight for dark colors.
This helps the dye fully soak into the fabric and get bright, lasting colors. Check the dye packaging for the best setting time.
For optimal results, avoid moving or disturbing the fabric during this time.
11. Take Off Elastic Bands
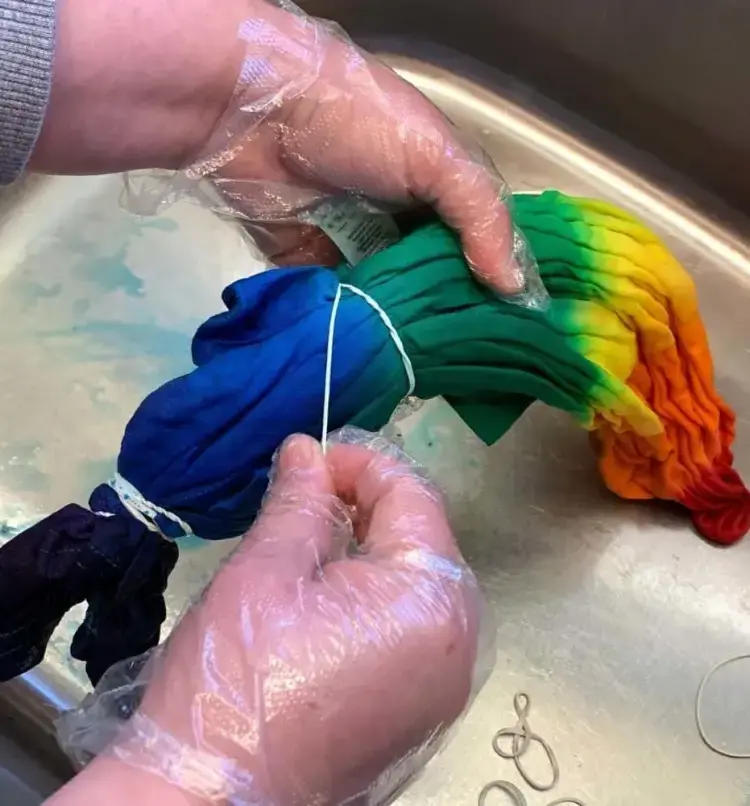
After the dye has set, remove the rubber bands from the fabric. Carefully take them off to reveal the tie-dye pattern, being gentle to avoid disturbing the design.
Once the rubber bands are removed, rinse and wash the fabric to remove any excess dye and complete the process. Let the fabric rest for a few minutes before proceeding with the further steps.
12. Wash Out Extra Dye
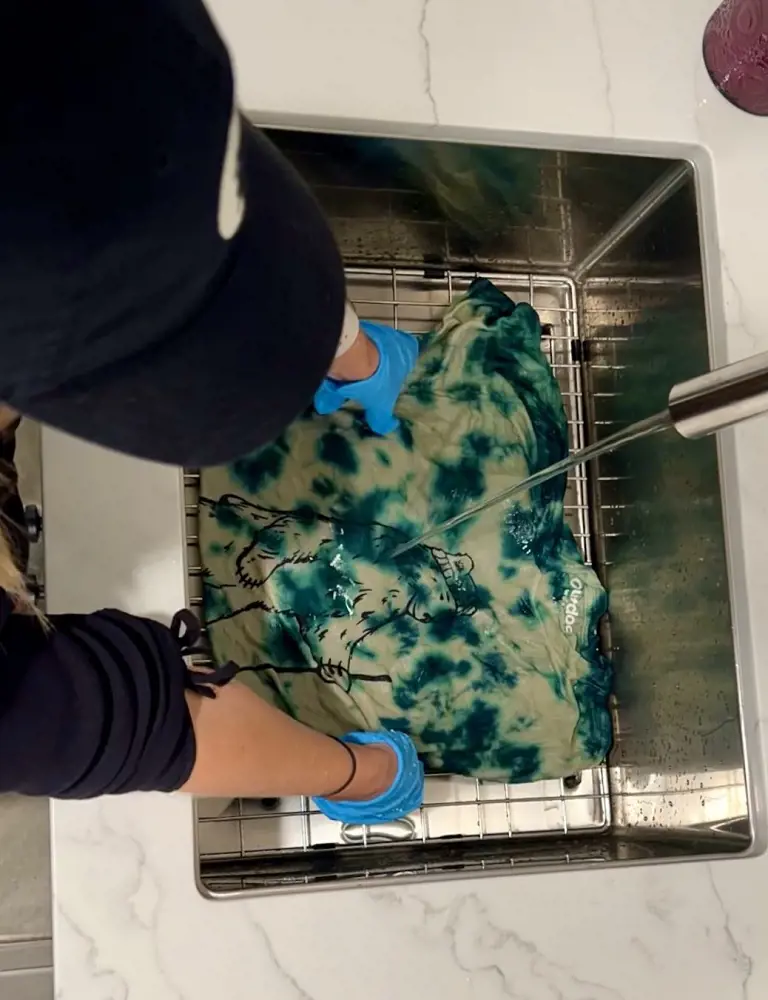
During this stage, rinse the fabric with cold water to remove excess dye and prevent colors from mixing. Make sure to continue doing it until the water runs clear.
Then, gently move the fabric to ensure all the leftover dye is removed. This helps the colors stay bright and removes any chemicals.
13. Wash Separately
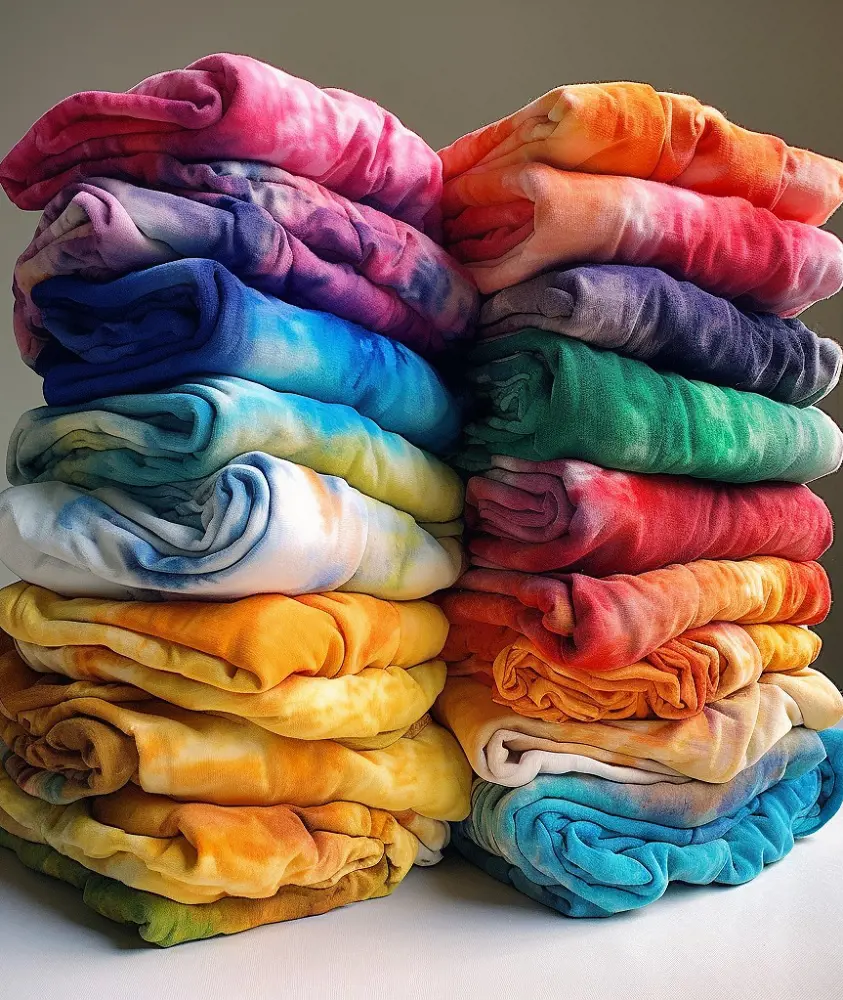
This step stops dyes from mixing together. In the first few washes, extra dye washes out. If you wash multiple shirts together, colors can transfer between them, ruining the patterns.
Wash each shirt separately to keep its unique, bright design.To prevent any fading, use cold water instead of hot water.
14. Dry and Enjoy
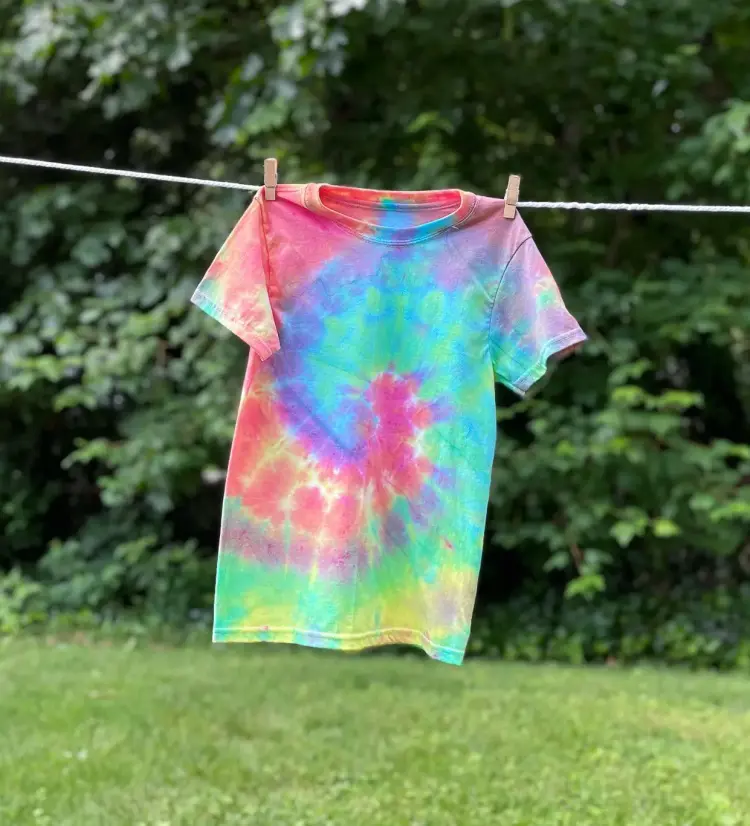
After completing all the steps, you’re almost ready to wear your creation. But before that, let the fabric dry, either by air drying or using a dryer.
Rinse the fabric one last time in cold water to remove any extra dye. Now, flaunt your tie-dye design and get ready for compliments.

